Rubber Stamping with Vintage Images
Is your craft room becoming crowded with all of those rubber stamps that you have been collecting? Always feel like you don’t have the right image and are having to make do with close enough? Or, maybe you are out of green ink and really need to add some leaves to your project?
There is an alternative! Rubber stamping with vintage images.
Vintage black and white drawings and a bit of PhotoShop magic will have you finding a fun and low cost way to supplement your rubber stamping hobby. You can turn anything into a great rubber stamp picture. Have fun and save money; design a rubber stamp without the rubber, the glue, or even the inks.
So, enough talk. Let’s get started – you’ll be amazed at how simple this is and wonder why you hadn’t already thought of it. Rubber stamp scrapbooking will never again look the same.
 1. Find an image that you would like to use.
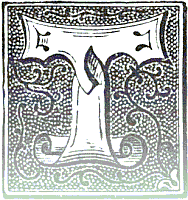
For this Photoshop tutorial, I used the Thistle & Leaves Border and Fancy Letter T Drop Cap.
2. Open or cut and paste your image into PhotoShop. For those of you with more artistic abilities, you could always draw your own original artwork. Make sure the Image Mode is set to RGB.
3. Go to the layer menu and Layer Style, Gradient Overlay – If that selection is grayed out, you need to go to Layer menu and choose Duplicate Layer. Go ahead and keep the defaults and then work with the new layer. Return to Layer Style, Gradient Overlay.
4. Change the Blend Mode to Screen.
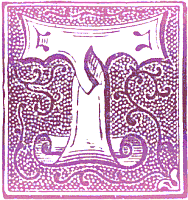
 5. To create a simple uneven stamped look like the one shown here on the right, select a Gradient using the drop down menu that has white and gray, black to transparent or something similar. Change the Opacity levels to create the look you desire. I used a gradient that went from white to transparent with 40% Opacity to get the following image:
If the image you have chosen to use is too crisp and looks printed rather than stamped, use the Smudge Tool, set the brush width to close to the size of your image as possible. Set the strength very low, 7% works well and then position the mouse over the image and just slightly move the mouse to create a smudge. You might need a bit of trial and error to get a hand-printed, rubber stamp look rather than simply getting a smeary look.
 6. Use a gradient with shades of the same color to create a colored rubber stamp that mimics how a hand rubber-stamped image often comes out slightly uneven.
To create the wonderful looks rubber stampers are creating with multiple colored inks, select a gradient that uses three or four colors to get something like the image shown below.

7. Don’t merge the layers (if you had to create a duplicate) and save your new rubber stamp image to a file or cut and paste it into your project.
Gradient Overlays on Black and White Images
What’s really cool is since I wrote this tutorial, there are many other great graphics programs that work with layers and screen overlays. Even if you don’t have access to a copy of Photoshop, you might have everything you need to make your own cool rubber stamp images from vintage images.